Getting Started with Clarissa for Apple
Clarissa is available as a native iOS, macOS, and watchOS application, built with SwiftUI and featuring Apple's Liquid Glass design language. This guide will help you get up and running.
Requirements
- iOS 26+ on iPhone or iPad
- macOS 26+ (Tahoe) on Mac
- watchOS 26+ on Apple Watch (companion app)
- Apple Silicon device with Apple Intelligence enabled (for on-device AI)
- Xcode 26 beta (for building from source)
Installation Options
App Store (Recommended)
Clarissa is available on the App Store for iPhone, iPad, and Mac.
- Open the Clarissa AI App Store page
- Tap "Get" to download and install
TestFlight Beta
Want early access to upcoming features? Join the TestFlight beta for preview builds.
- Install TestFlight from the App Store
- Open the Clarissa TestFlight invite link
- Tap "Accept" to join the beta
- Install Clarissa from TestFlight
Build from Source
For developers who want to build and run locally:
git clone https://github.com/cameronrye/clarissa.git
cd clarissa/apple/Clarissa
open Package.swift
This opens the project in Xcode. Select your target device and click Run (⌘R).
Initial Setup
When you first launch Clarissa, you'll be guided through a quick onboarding process:
- Apple Intelligence — Enable on-device AI if your device supports it
- OpenRouter API Key — Optionally add your API key for cloud model access
- Permissions — Grant microphone access for voice input (optional)
Choosing Your AI Provider
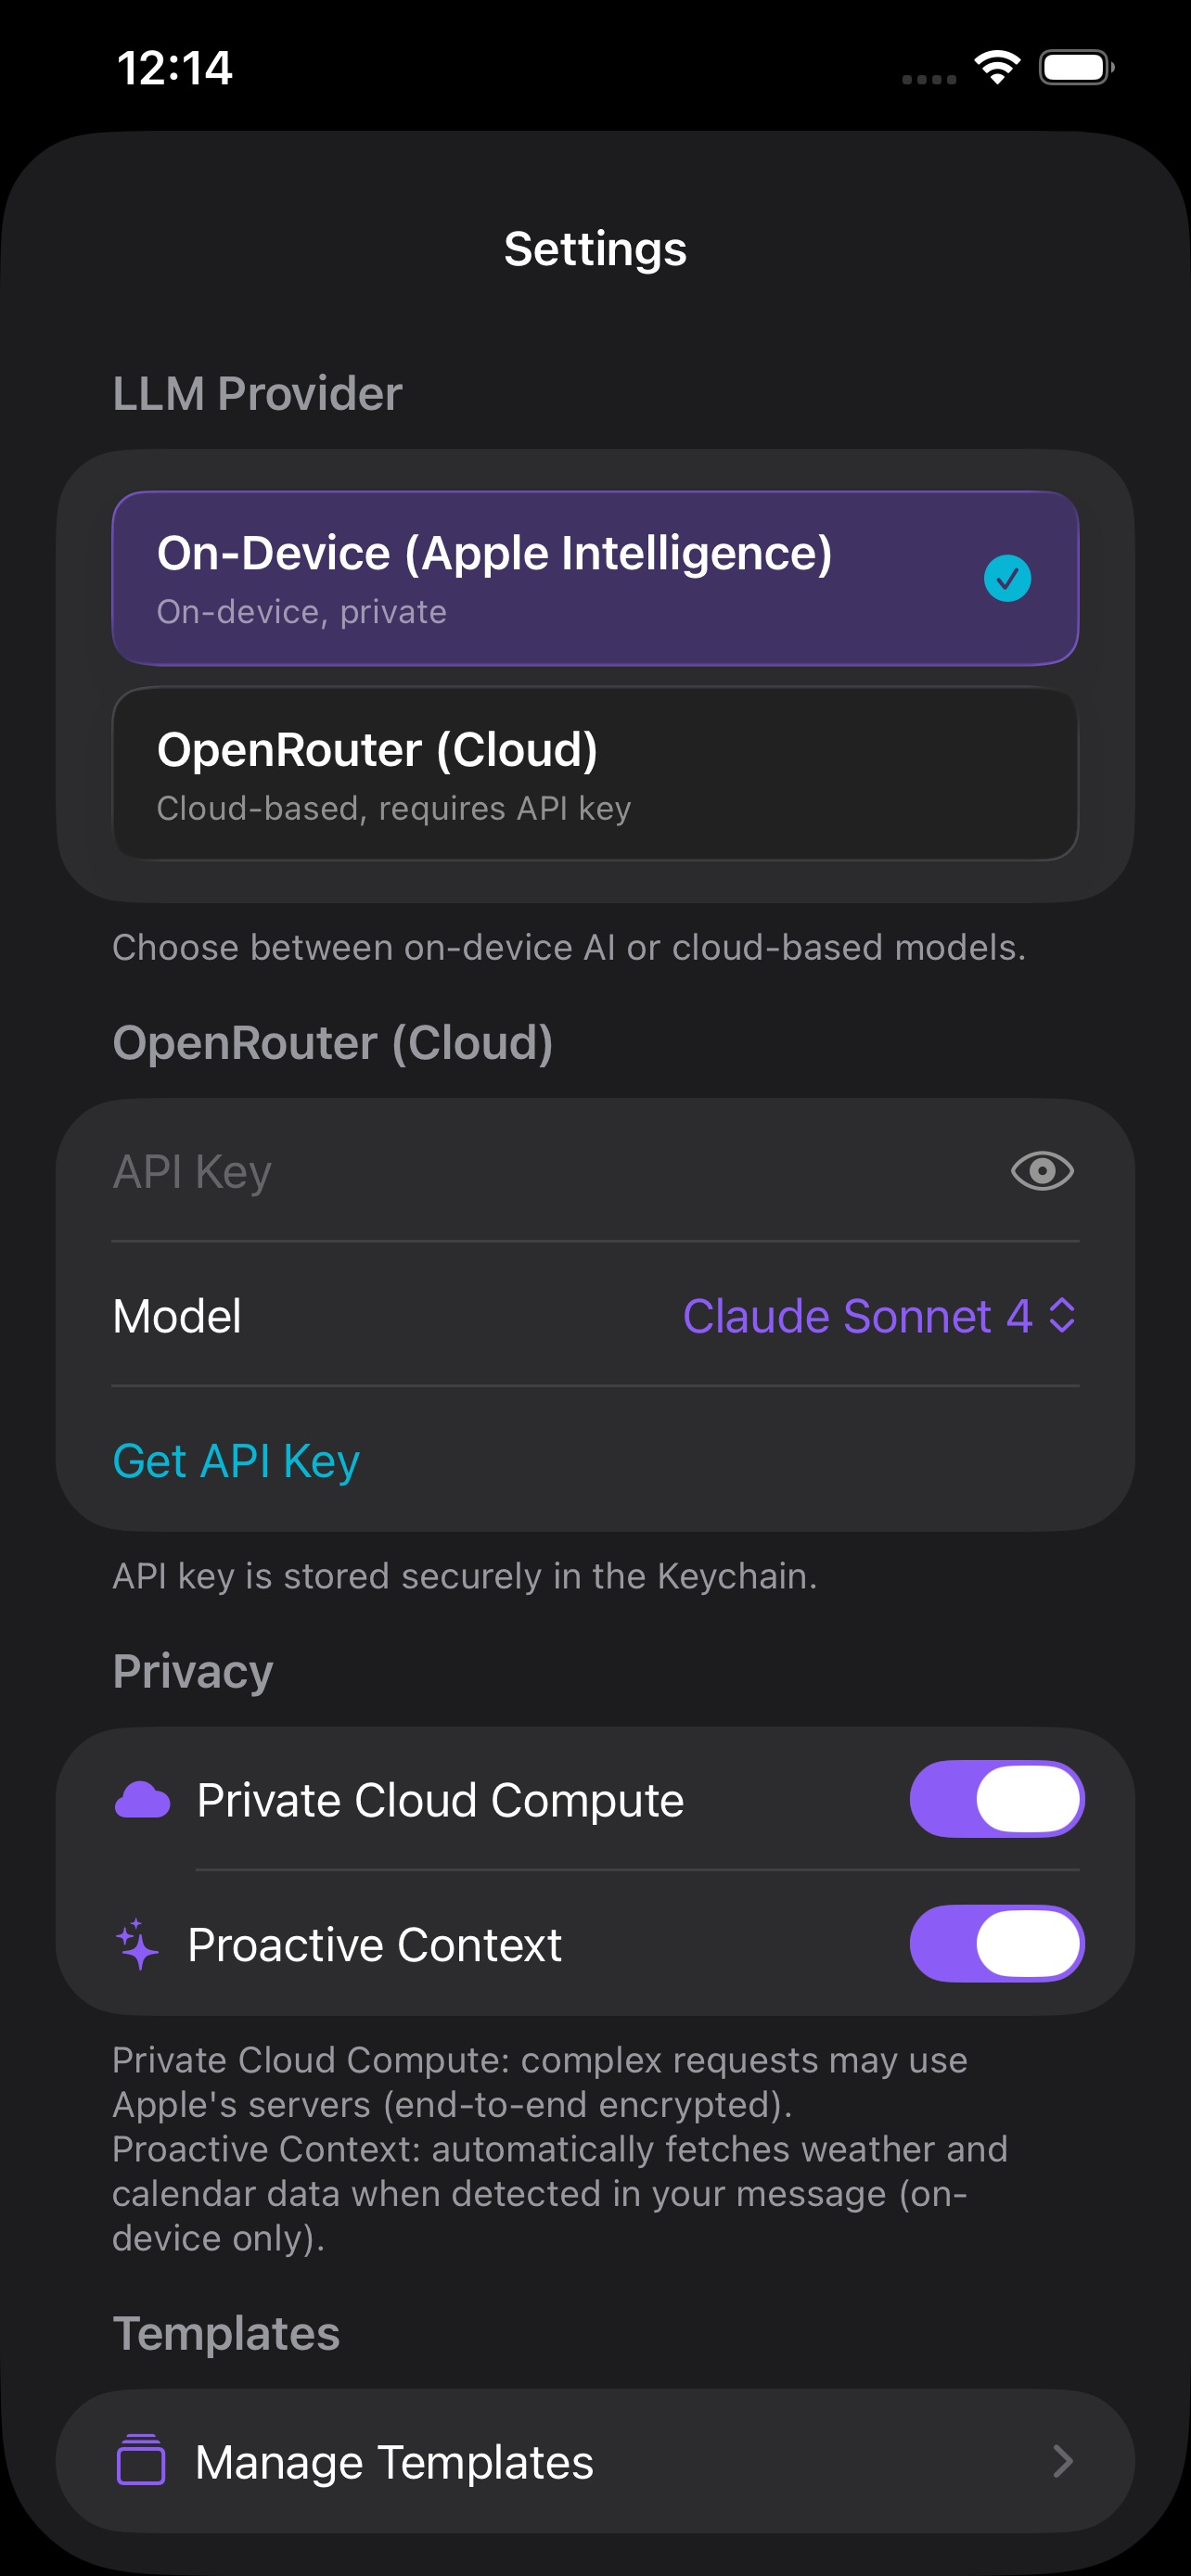
Apple Intelligence (On-Device)
The default and recommended option. Your conversations are processed entirely on your device using Apple Foundation Models. This requires:
- Apple Silicon (M1 or later on Mac, A17 Pro or later on iPhone/iPad)
- Apple Intelligence enabled in System Settings
- iOS 26+ or macOS 26+
Note: On-device AI supports up to 10 tools per session (best results with 4-5). Clarissa intelligently prioritizes tools. For more complex workflows, consider using cloud providers. If Foundation Models encounters an error, a banner will suggest switching to OpenRouter.
OpenRouter (Cloud)
For access to 100+ models including Claude, GPT-4, and more. Requires an API key from OpenRouter.
To configure:
- Open Settings (gear icon or ⌘,)
- Enter your OpenRouter API key
- Select your preferred model
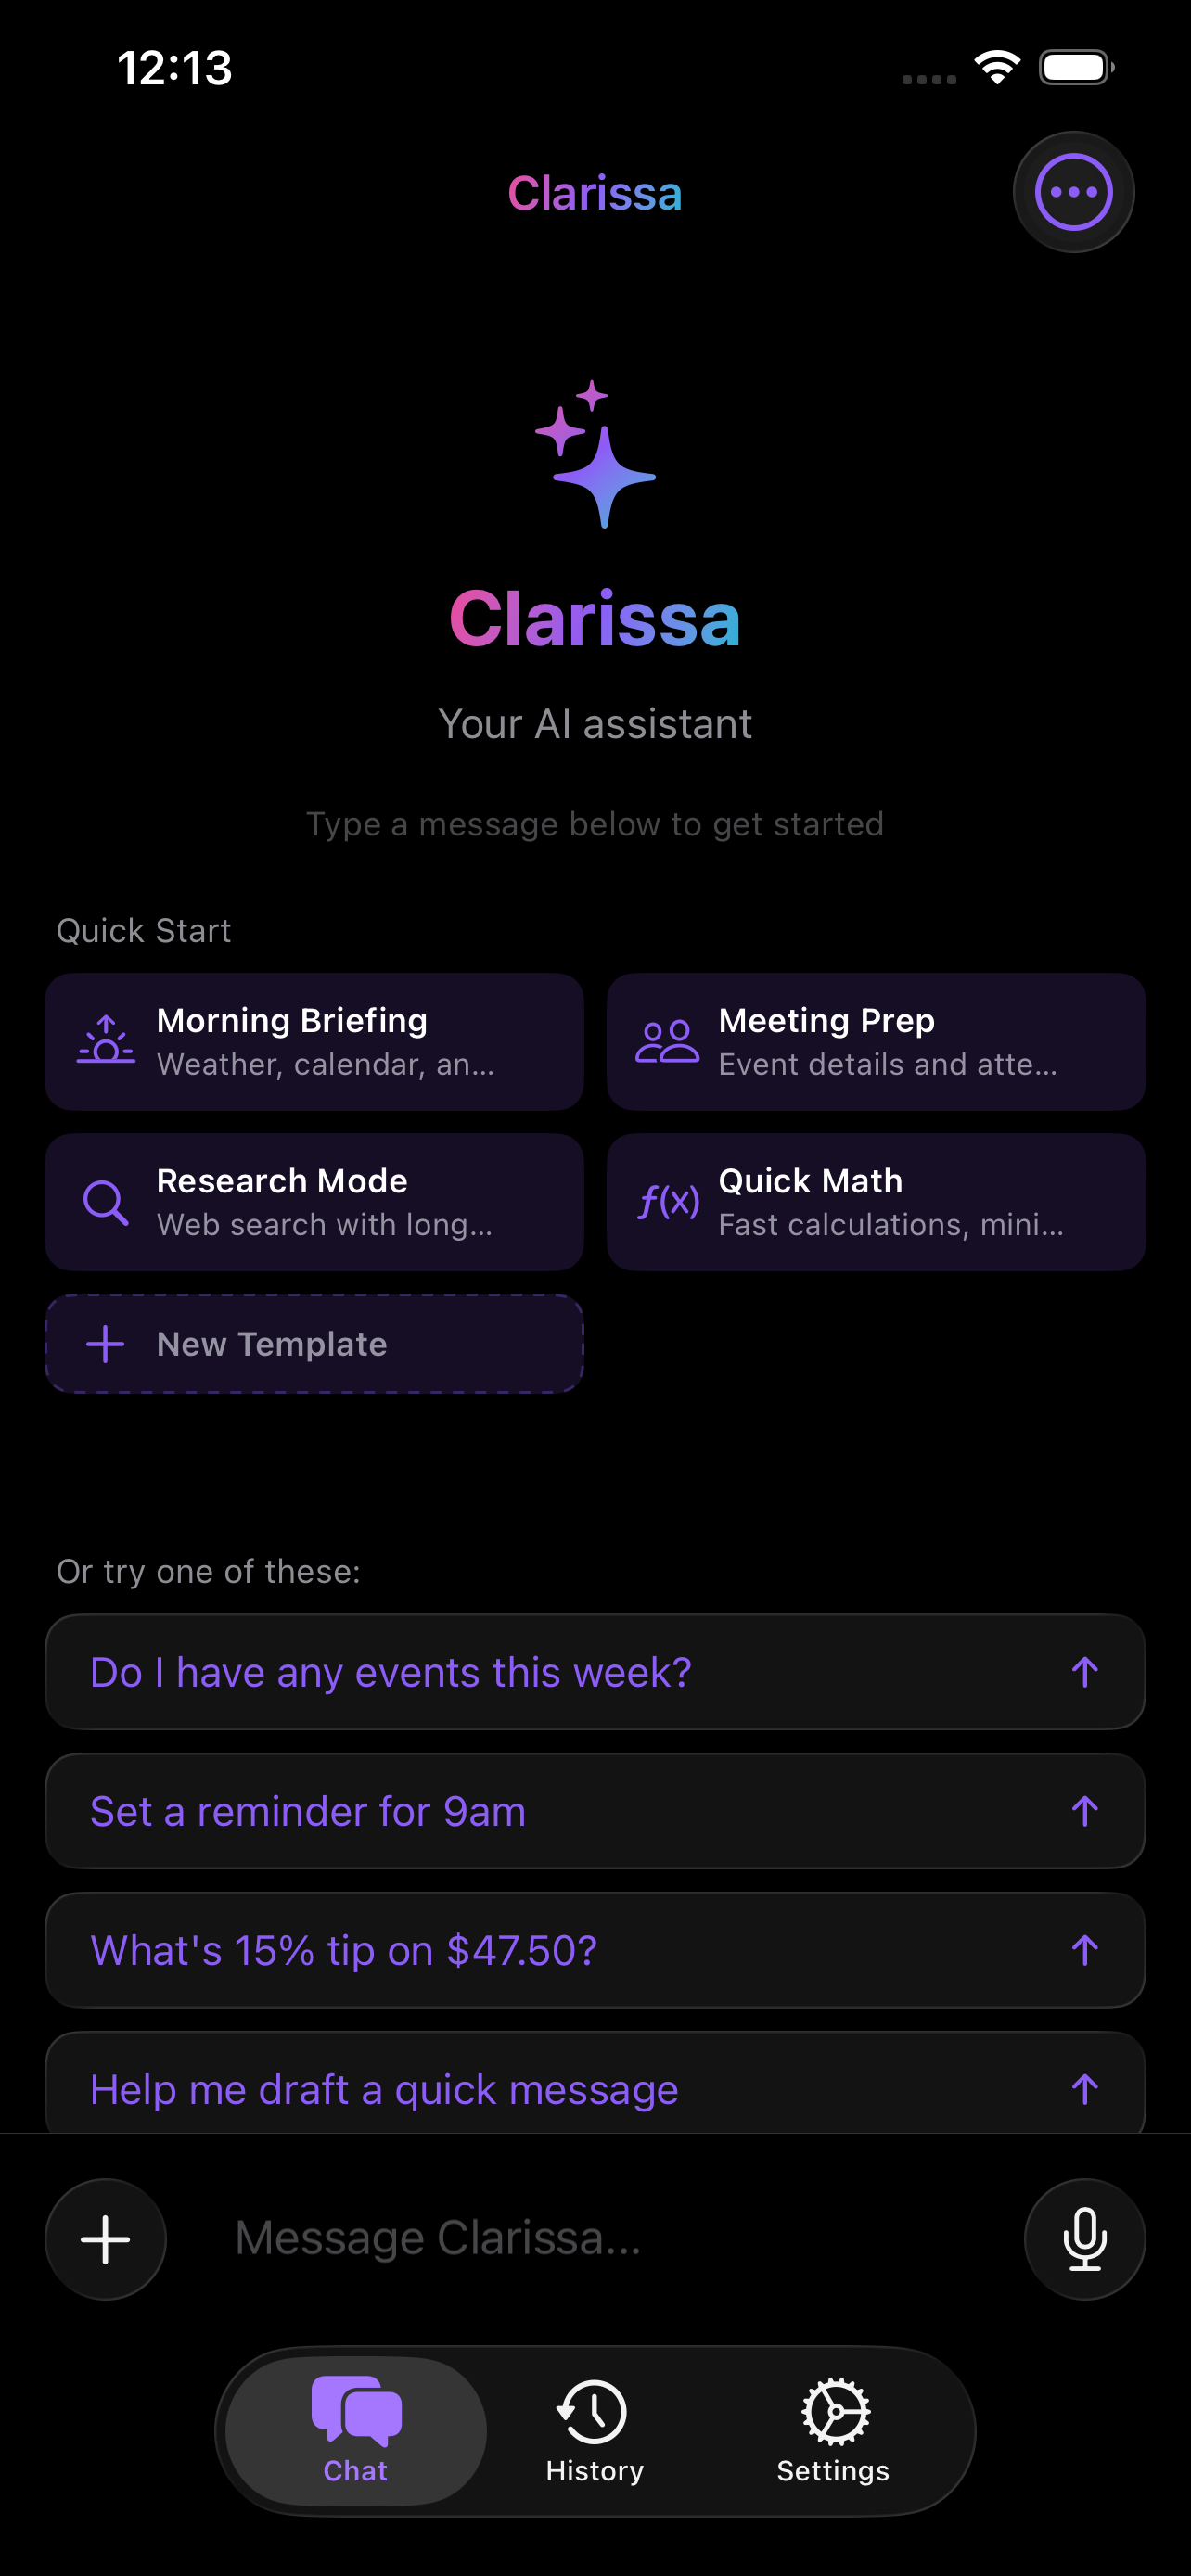
Your First Conversation

Once setup is complete, you can start a conversation in several ways:
- Type a message — Tap the text field and type your question
- Use voice input — Tap the microphone button and speak
- Pick a template — Choose from Morning Briefing, Meeting Prep, Research Mode, or Quick Math in the empty-state picker
- Run a tool chain — Execute a multi-step workflow like Daily Digest or Travel Prep from the chain picker
- Share from another app — Use the Share Extension to send text, URLs, or images to Clarissa
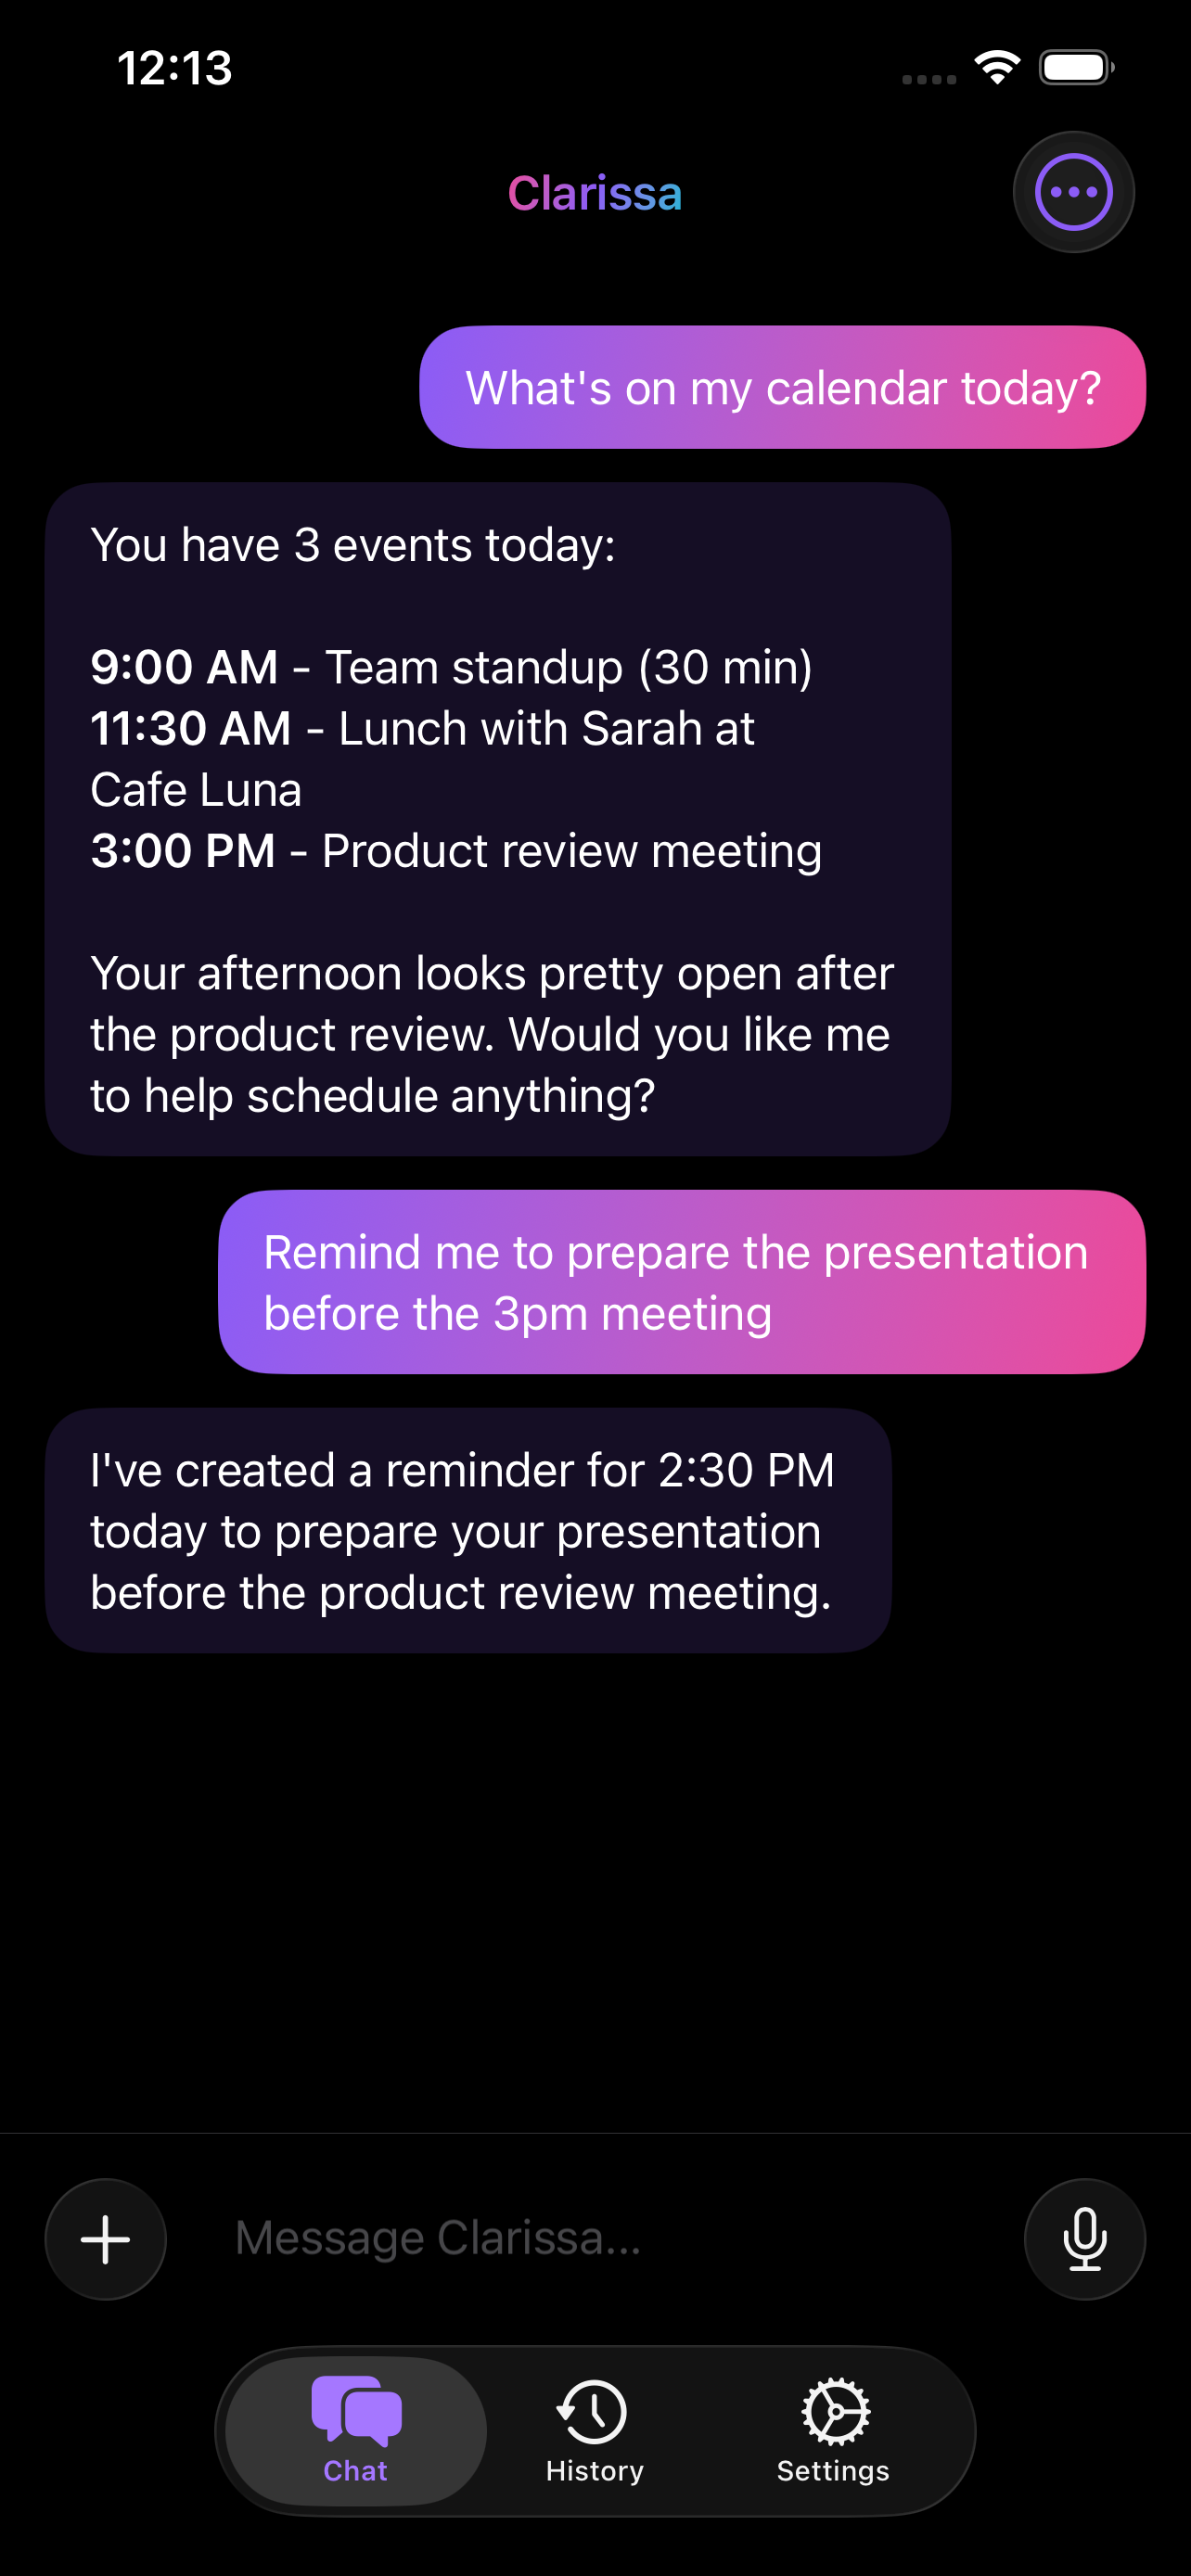
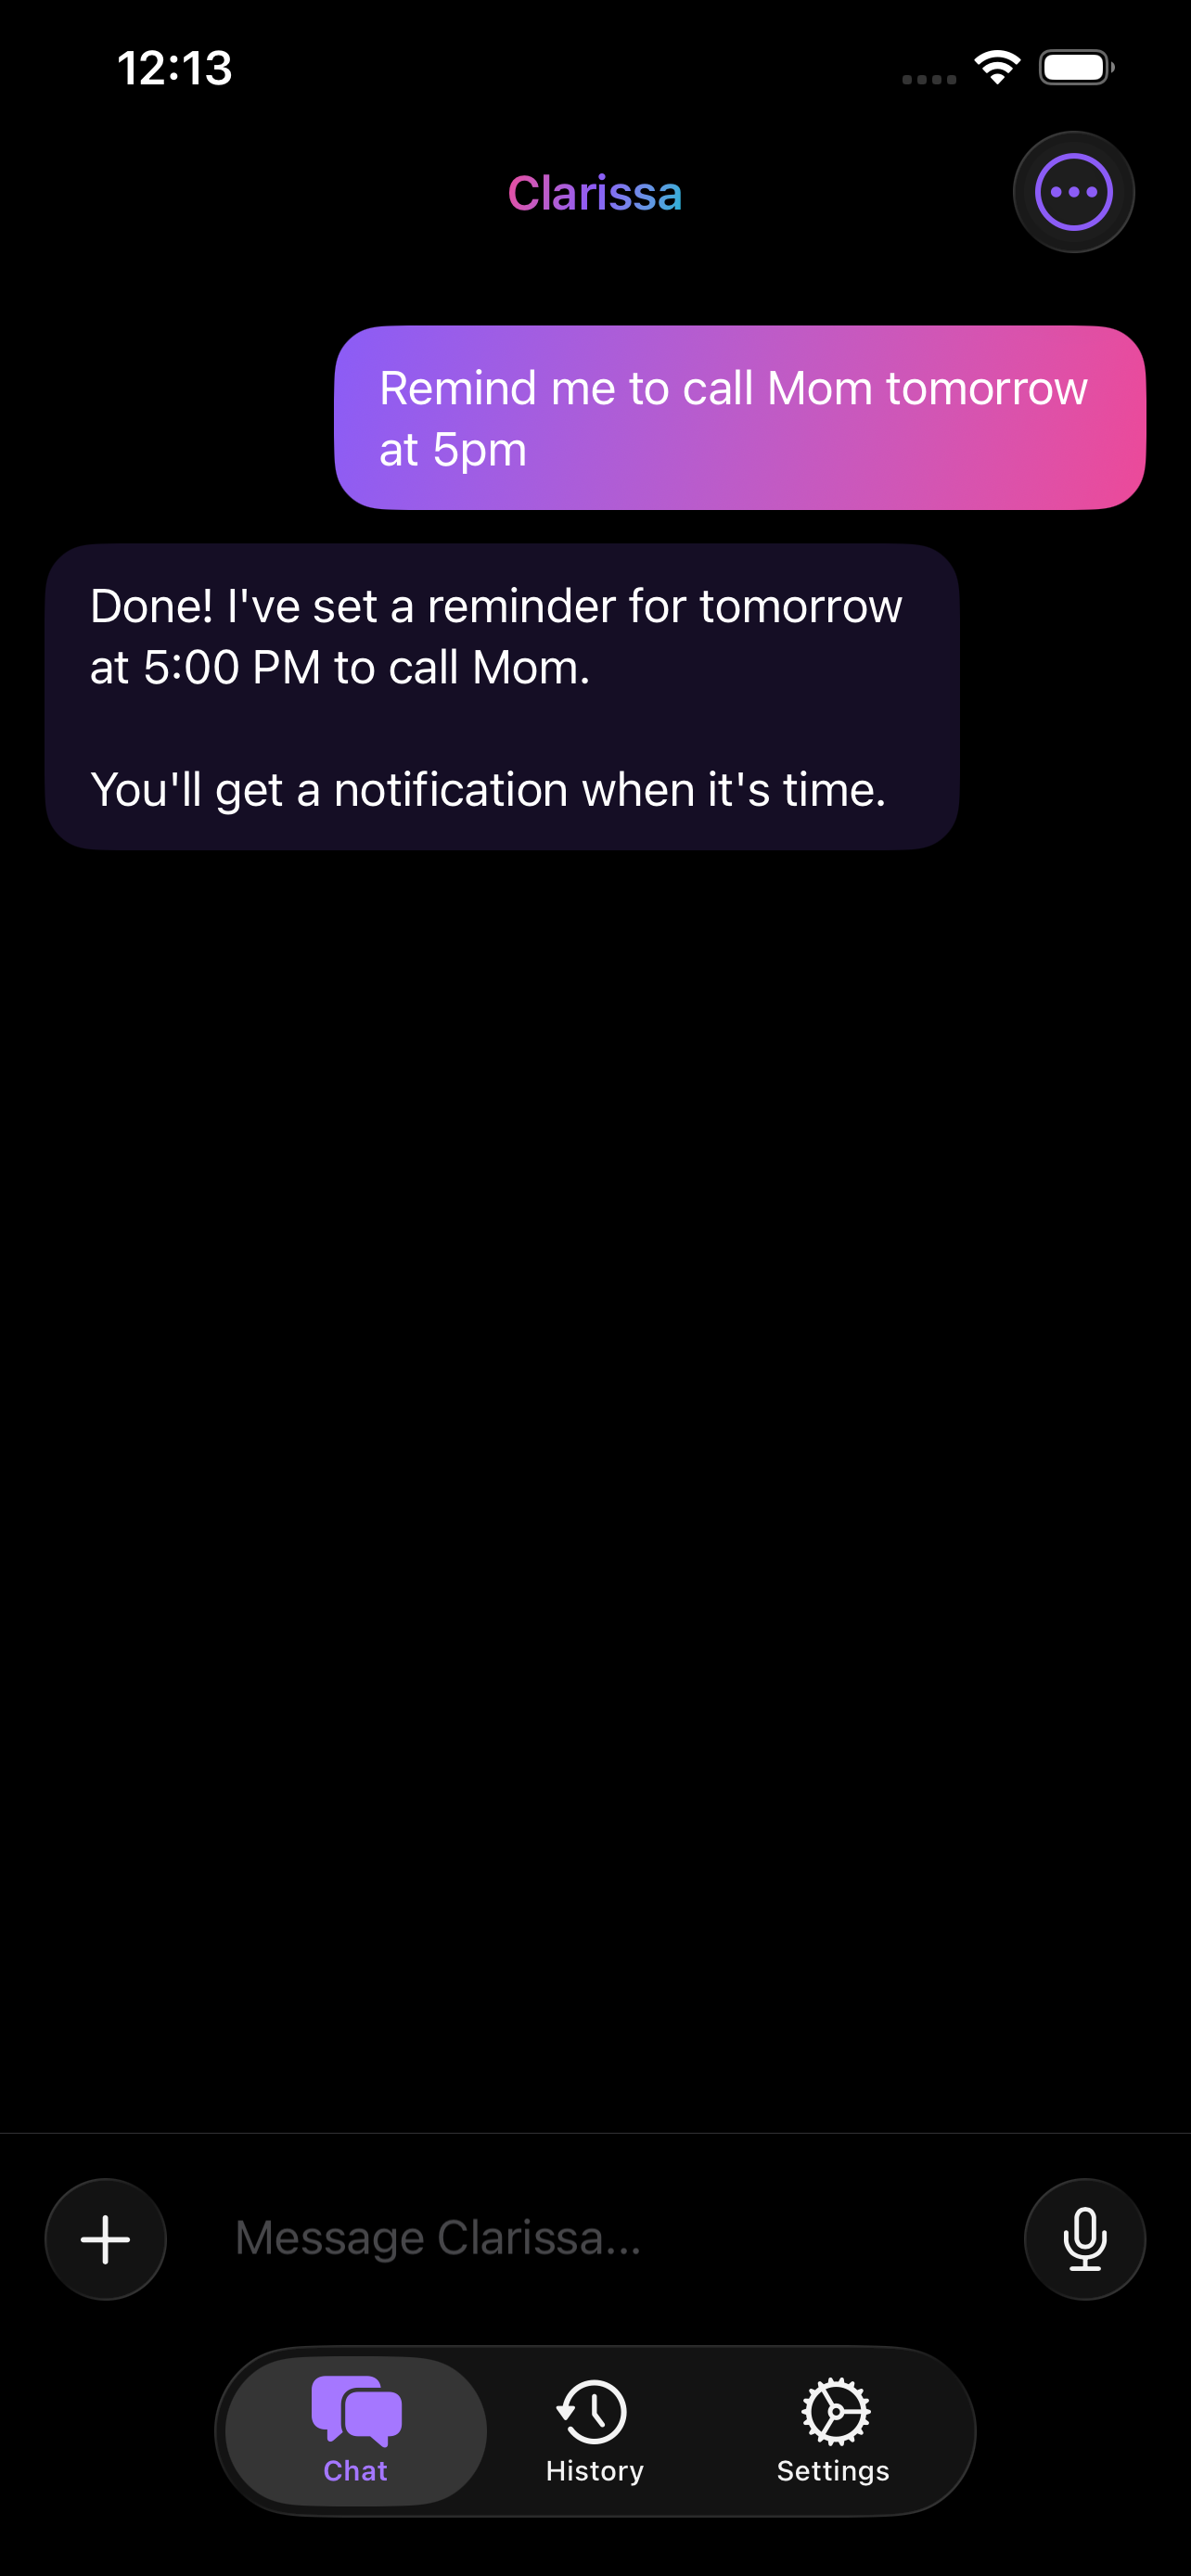
Clarissa will respond with streaming text. If tools are required (like fetching a URL or checking your calendar), you'll see step-by-step progress in the chat and Dynamic Island.
Setting Up Automation
After you're comfortable with conversations, explore automation in Settings:
- Tool chains — Create or customize multi-step workflows that pipe data between tools
- Scheduled check-ins — Get a notification with your Daily Digest every morning
- Automation triggers — Run chains based on time, location, or Focus mode
- Shortcuts actions — Use Clarissa's 8 tools directly in the Shortcuts app
- Widgets — Add the Morning Briefing or Memory Spotlight widget to your Home Screen